
Quick Answer (30-Second Summary)
Carving means using your snowboard’s edges to cut clean, arcing turns instead of skidding sideways.
To carve successfully, you need three things: a stacked body position (ankles, knees, hips, and shoulders aligned over the edge), early edge engagement (start your turn at “12 o’clock” and hold it through to “6 o’clock”), and pressure control (shift weight forward at the start, back at the end).
Start on gentle, groomed terrain.
Keep your knees bent, your shoulders parallel to the board, and let the board’s sidecut do the work
Stop Skidding, Start Slicing
You know that feeling.
You’re cruising down a beautiful groomer, but your turns feel clunky.
You’re kicking your back leg out, spraying snow everywhere, and your thighs are burning. You’re not really riding the mountain—you’re fighting it.
That’s because you’re skidding, not carving.
Skidding is exhausting. It’s inefficient. And frankly, it doesn’t look or feel as good as a clean, silent carve that leaves a single pencil-thin line in the snow.
If you’re ready to level up your snowboarding and experience the pure joy of effortless, high-speed turns, you’ve come to the right place.
This guide will teach you exactly how to carve on a snowboard, from the fundamentals to pro-level tips.
Why Carving Matters (More Than You Think)
Carving isn’t just a flashy skill for advanced riders. It’s a fundamental technique that transforms your entire riding experience.
Here’s why you need to learn it:
- More Speed, Less Effort: Skidded turns bleed speed and exhaust your leg muscles. Carving maintains your momentum, so you can ride longer and faster with less fatigue.
- Better Control: When your edge is locked in, you have precise control over your direction and turn radius. You’ll confidently navigate variable terrain and tricky conditions.
- Smoother, Quieter Ride: A carved turn is almost silent. You’ll glide across the snow like a hot knife through butter instead of scraping and chattering.
- Foundation for Progression: Whether you want to ride park, hit big jumps, or tackle steep backcountry lines, carving fundamentals are the building blocks.
Carving is about using your snowboard the way it was designed to be used. It’s efficiency, control, and style all rolled into one.
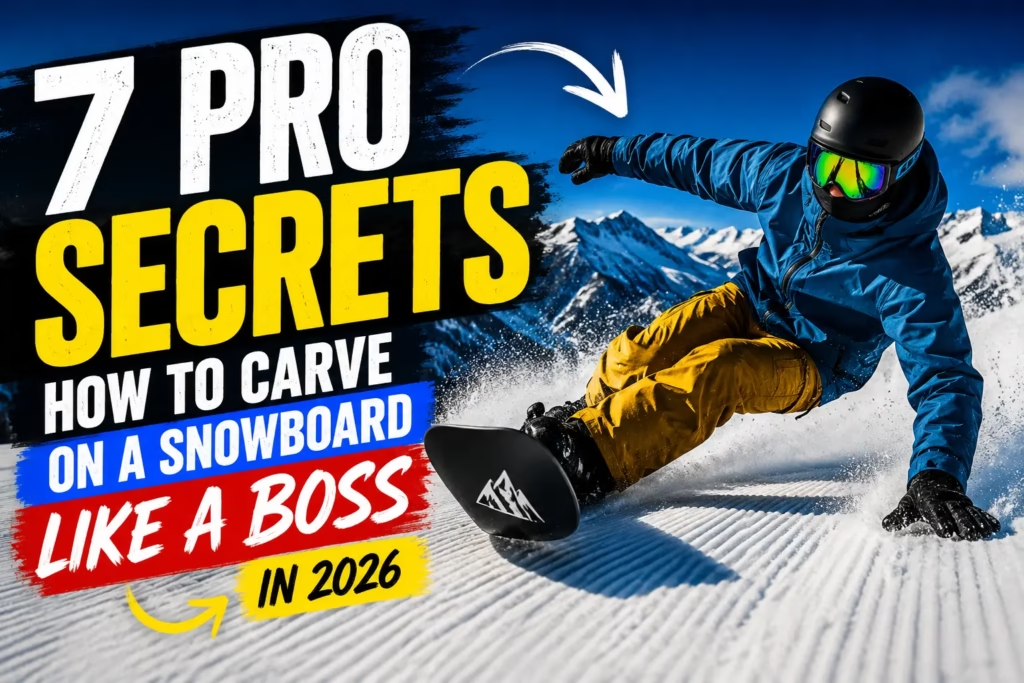
Step-by-Step: How To Carve On A Snowboard
Let’s break down the carving process into five clear, actionable steps.
Step 1: Get Stacked (The Perfect Stance)
Before you even point your board downhill, you need the right foundation. This is called the “stacked” position.
- Stand on your board on flat ground.
- Bend your knees slightly.
- Align your ankles, knees, hips, and shoulders directly over the board’s edge.
- Keep your back straight and your shoulders parallel to the board.
- Relax your upper body.
Think of it like this: Imagine you’re a yakitori skewer—your head, spine, and board should form a straight, stable line. This centered, stacked posture gives you maximum balance and control.
Step 2: Engage Your Edge Early
The biggest mistake beginners make is starting their turn too late. To carve, you need to engage your edge early in the turn.
- Visualize your turn as a clock face.
- You want to start tilting your board onto its edge at 12 o’clock (when your board is pointing straight downhill).
- Hold that edge engagement all the way through to 6 o’clock (when you’re across the hill).
How to tilt: Use your ankles and knees to tip the board onto its edge. Don’t just lean your whole upper body—that’s a recipe for falling.
Step 3: Drive Through the Turn (Toe Side)
Now you’re moving and you’ve initiated your edge. Here’s how to execute a clean toe-side carve:
- Press your shins into the front of your boots.
- Bend your knees and ankles to tilt the board onto its toe edge.
- Keep your weight centered and stacked over the toe edge.
- Look and turn your head in the direction you want to go.
Pro Tip: On your toe side, get low and think about “scrunching” your toes to engage the edge.
Step 4: Drive Through the Turn (Heel Side)
The heel-side carve is often trickier, but the principles are the same:
- Sink your hips back and down into your highbacks.
- Lift your toes to press your heel edge into the snow.
- Keep your knees bent—do not straighten your legs.
- Maintain your stacked position over the heel edge.
Pro Tip: If you’re struggling on your heel side, try reaching for your front knee with your back hand. This helps align your body and encourages proper rotation.
Step 5: Shift Your Weight (Fore-Aft Motion)
A great carve isn’t static. You need to shift your weight throughout the turn.
- At the start of the turn (12 o’clock): Pressure the nose (front) of the board to initiate the carve.
- Through the middle of the turn: Gradually shift pressure back to the center.
- At the end of the turn (6 o’clock): Pressure the tail (back) of the board to complete the carve.
This fore-aft weight shift keeps the entire edge engaged and prevents the board from washing out.
The “Skiing vs. Skidding” Analogy
Still not sure what carving should feel like? Think about the difference between skiing and skidding in a car.
- Skidding is like slamming on the brakes. The tires lock up, you lose traction, and you slide sideways. It’s noisy, uncontrolled, and slows you down. That’s a skidded snowboard turn—you’re scraping the snow, kicking out your back foot, and bleeding speed.
- Carving is like taking a smooth, high-speed corner on a race track. The tires grip the road, the car leans into the turn, and you flow through effortlessly. That’s a carved snowboard turn—your edge is locked in, you’re slicing through the snow, and you maintain all your speed.
Carving is like riding a rollercoaster. You’re along for the ride, guided by the track (your board’s sidecut), not fighting it.
Troubleshooting: “What If This Doesn’t Work?”
Carving takes practice. Here are common problems and their fixes:
Problem: My board keeps skidding or washing out.
Fix: You’re likely not engaging your edge early enough, or you’re not tilting the board enough. Start your turn at 12 o’clock. Increase your edge angle by bending your knees and ankles more. Make sure your weight is centered over the edge, not leaning back.
Problem: My board chatters or vibrates on heel-side turns.
Fix: This usually means your ankles and knees are too stiff. Relax your lower body. Focus on a smooth, progressive fore-aft weight shift from the nose to the tail throughout the carve.
Problem: I can’t seem to get low enough.
Fix: Getting low is a result of high edge angle, not just squatting down. Focus on tilting the board more through your ankles and knees first. The lower body position will follow naturally. Also, ensure your bindings are centered on your board—excessive toe or heel overhang can limit your edge angle.
Problem: My toe-side carves feel weak.
Fix: You might be breaking at the waist (hinging forward). This takes you out of your stacked position. Instead, keep your back straight and push your shins into the boots to tilt the board. Imagine pinching your oblique muscles on the inside of the turn to lift your upper body.
3 Drills To Master Carving Faster
Don’t just read—practice! These drills will accelerate your learning.
Drill 1: The J-Turn
Start on a gentle slope. Point your board straight downhill (the “J” stem). Then, slowly tilt onto one edge and let the board carve a complete arc back up the hill until you stop (the “J” hook). This teaches you early edge engagement and the feeling of a carve. Practice on both your toe and heel sides.
Drill 2: The Garland Drill
Traverse across the slope on one edge. Instead of going straight across, make gentle, wave-like “S” turns down the hill, but stay on the same edge the entire time. This helps you control edge pressure and build confidence. Check your track—it should be two clean lines.
Drill 3: The “Norm” Drill
Stand tall and straight on your board with minimal knee bend. Make a very slow, gentle turn by only tilting the board with your ankles and feet. This isolates the feeling of edge engagement and shows you how little effort is actually needed to initiate a carve.
Advanced Tip: Angulation vs. Inclination
As you progress, you’ll hear about angulation and inclination.
- Inclination is leaning your whole body into the turn.
- Angulation is creating edge angle by bending only your ankles, knees, and hips, while keeping your upper body more upright.
Advanced carvers use angulation to achieve higher edge angles without losing balance. It allows you to generate more grip and carve tighter turns. Start by practicing angulation on gentle slopes. Focus on flexing through your lower body to tilt the board, rather than just throwing your weight around.
Common Myths About Snowboard Carving
Myth #1: You need a special “carving” board.
Truth: Any board can carve. While a stiffer board or one with a deeper sidecut can make it easier, mastering the technique on your current setup is the best way to learn. Upgrade your gear later to complement your skills.
Myth #2: Carving is only for advanced riders on steep slopes.
Truth: You can (and should) start learning to carve on gentle, green terrain. It’s the perfect place to build confidence and practice edge control without the fear of picking up too much speed.
Myth #3: You need to lean way back to carve.
Truth: A successful carve requires a dynamic weight shift—forward to initiate, back to finish. Staying stuck in the back seat is a recipe for skidding and losing control.
FAQ: People Also Ask
Q: What’s the difference between carving and skidding?
Q: How do I know if I’m actually carving?
Q: What’s the best stance for carving?
A: A “positive-positive” stance (both bindings angled forward) is often preferred for carving. However, a duck stance can work too. The most important thing is being comfortable and stacked over your board.
Conclusion: Your Turn To Shred
Learning how to carve on a snowboard is the single most rewarding step you can take in your snowboarding journey. It transforms the mountain from a bumpy, exhausting obstacle course into a smooth, flowy playground.
Remember the pillars: stacked stance, early edge engagement, and dynamic pressure. Start on gentle terrain, practice the drills, and be patient with yourself. The feeling of that first clean, silent carve is absolutely worth the effort.
Now get out there, find some empty groomers, and start slicing! 🔥
Have a carving breakthrough or a burning question? Drop a comment below—we’d love to hear about your progress!

DeAndre Gregg is a passionate writer and storyteller with a knack for capturing the essence of human experiences. With a background in journalism and creative writing, DeAndre has contributed to various publications, offering insightful perspectives on a wide range of topics

